Sale on canvas prints! Use code ABCXYZ at checkout for a special discount!

The original image can be seen by clicking on the button below for more information.
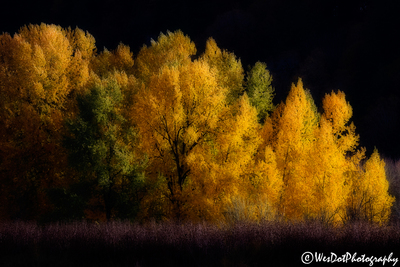
Here is the step by step procedure to give your photos the painterly look that you see on this sample. I use Photoshop CS5 so these instructions may need to be adjusted a bit according to your system.
1. Duplicate image (image>duplicate). Close original
2. Lighten the image: Image>Apply Image. In the dialogue box that comes up, change blending mode to ‘screen’ & opacity to 100%
3. Duplicate this overexposed image: Image>Duplicate
4. Blur this 2nd layer: Filter>Blur>Gaussian Blue..in the dialogue box that comes up use Radius setting of 15 to 50 pixels. The higher the number the blurrier the photo & the more ‘painterly’ the image.
5. With both layer copies visible, select the move tool. Hold down ‘Shift’ key and drag & drop the blurry layer onto the sharp one. Don’t release shift key until you release the mouse or they won’t line up.
6. In the top layers change the blend mode from ‘normal’ to ‘multiply’. Chg opacity to alter effect
7. Flatten the layers and make any additional adjustments in Photoshop.
This artsy touch doesn’t seem to be something for every image but works really well with scenery and some nature shots. It certainly can make some stunning images even more stunning. Enjoy.